Receiving a new EZ-Store PC is always an exciting moment. But to take full advantage of its performance, it is important to follow the unpacking, installation, and startup steps carefully. In this article, we offer a step-by-step guide to getting your EZ-Store computer up and running with ease.
Complete guide to starting up your EZ-Store PC (video)
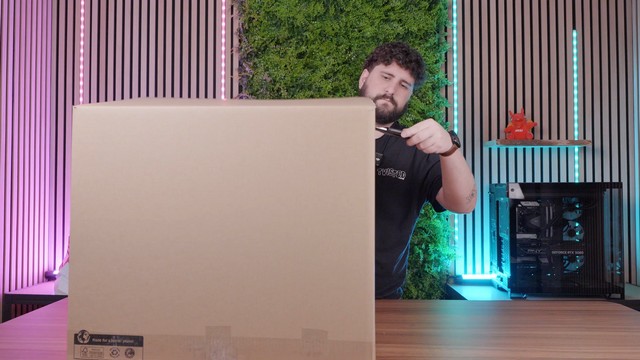
Step 1: Unpack your EZ-Store PC
Upon receipt, open the outer packaging. You will find:
Your protected EZ-Store PC,
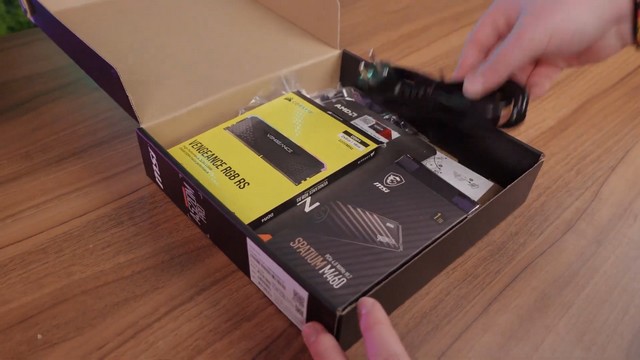
The motherboard box containing:
The power cable,
The component boxes (RAM, hard drive, etc.),
The manuals and useful connectors.
Tip: Keep these boxes and manuals, as they may be useful for maintenance or future upgrades to your configuration.
Open the protective box
Retrieve component instructions
Keep cables nearby
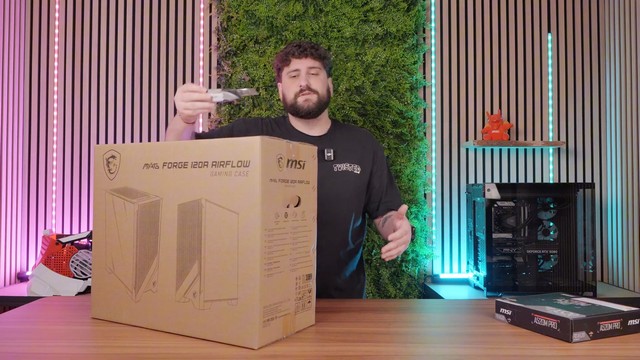
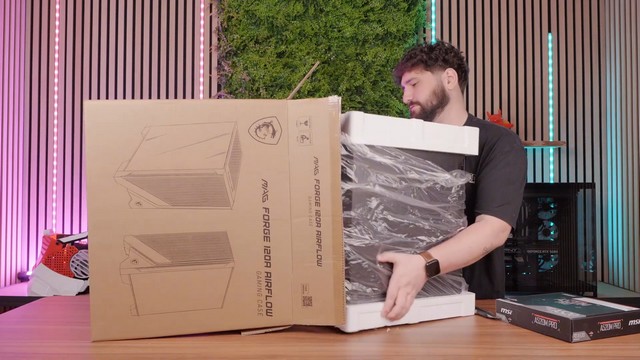
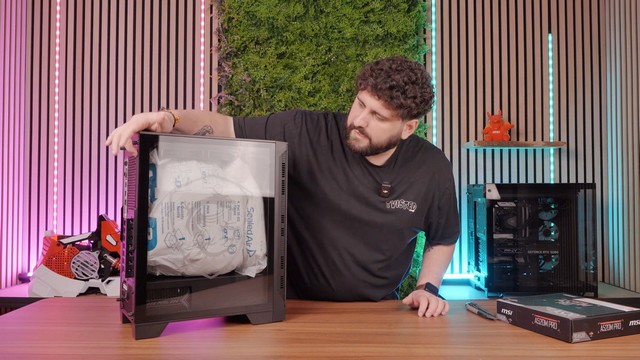
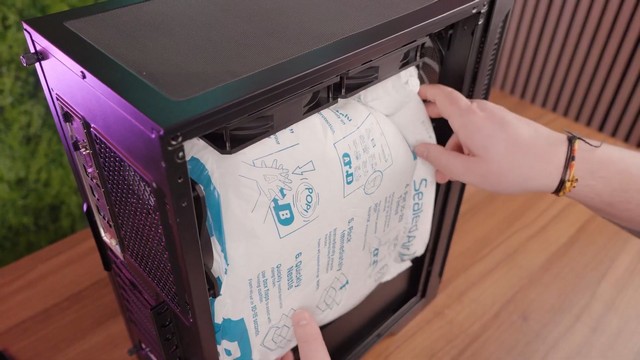
Step 2: Remove the internal protective covers
Your PC comes with protective foam inside the case. This step is essential: the foam prevents the components from moving during transport.
Remove the side panel.
Gently remove the foam. Even if you feel slight resistance, it will come out easily.
Remove the cardboard from the PC.
...take the PC out of the box
Remove the rear grille, then the glass.
Remove the expanding foam
Step 3: Make the connections
Connect your peripherals
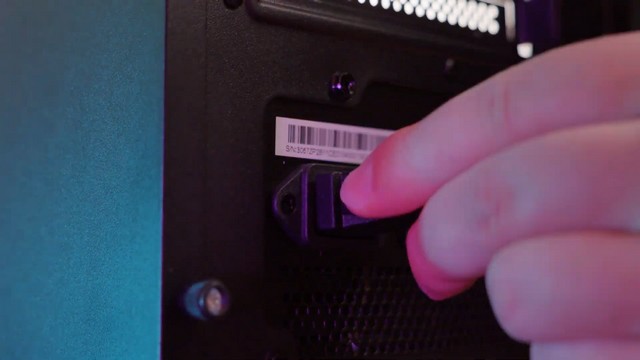
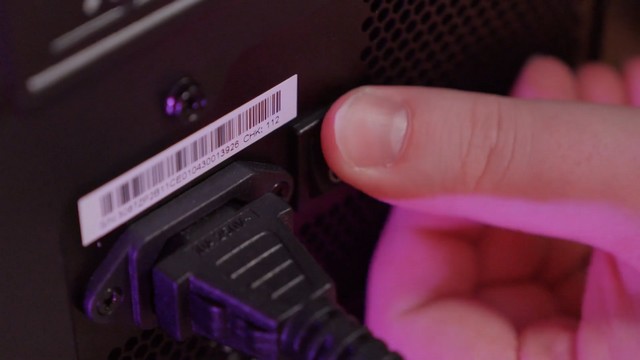
Plug in the power cord
Turn the switch to ON.
Before turning on your PC, make sure you have connected everything correctly:
Connect your peripherals (keyboard, mouse, headset, etc.).
Connect your Ethernet cable if you are using a wired Internet connection.
Connect your monitor via DisplayPort or HDMI directly to the graphics card (not the motherboard).
Plug in the power cable and turn the switch to ON.
PS: Don't have a monitor to go with your PC? EZ-Store offers monitors, of course. If you need equipment for your PC, we also have peripherals.
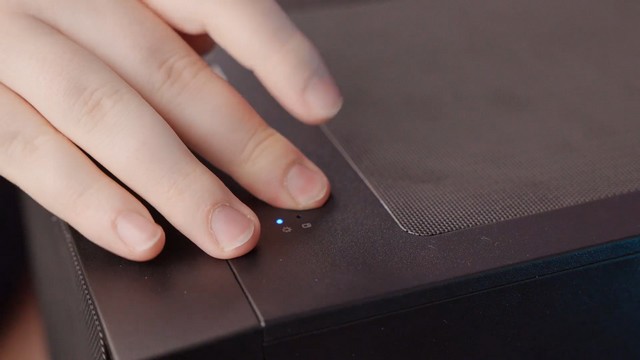
Step 4: Start your EZ-Store PC
Press the power button
Check the fans & LEDs
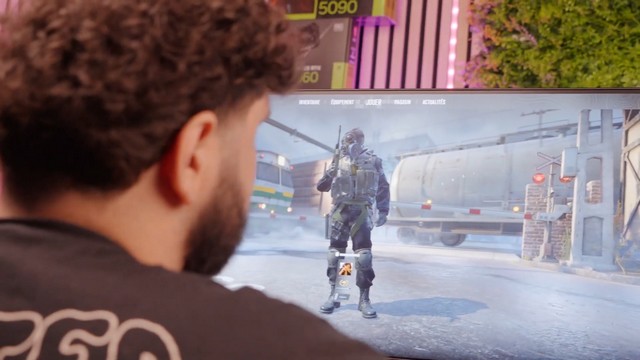
Play your favorite games!
Press the power button.
Check that:
The fans start up.
The display appears correctly on the screen.
EZ-Store simplifies this step since all Windows updates, BIOS, and optimizations are already done. All you have to do is install your favorite software and games.
You can now immediately enjoy the power of your configuration: your EZ-Store PC is already up and running! Install your applications, configure your games, and play—it's that simple (Easy peasy, lemon squeezy)! 🍋
FAQ: Everything you need to know about starting up an EZ-Store PC
No. EZ-Store PCs come with Windows already installed. Please note that Windows is installed as a trial version, and users can then choose the version of Windows that best suits their needs.